


Ford Ranger Trailer Plug Tuck Kit
You knew it was going to drag…
You’re out on a killer trail. You’ve just crested a rocky shelf, dropped into a deep rut, and the rear bumper gives that unmistakable scrape-crunch combo. Later, while washing the dust off and admiring your battle scars, you notice it: the trailer plug is toast. The bracket’s mangled. The wiring’s torn. And now you’re looking at hundreds of dollars in damage for something that shouldn’t have been in harm’s way to begin with.
Our, easy to install, Ranger Raptor Hitch Plug Relocation Kit gets your expensive trailer wiring connector up and out of harm's way to prevent damage to the wiring and the plug.
RR-1002-0
Couldn't load pickup availability
Pickup available at Warehouse
Usually ready in 2-4 daysPairs well with
Instructions
*Product photos may contain optional components.
Ford Ranger Trailer Plug Tuck Kit
We have a solution!
The Problem
The factory trailer plug bracket sits below the hitch – the lowest possible spot – just begging to get smashed on the trail.
The smashing happened literally the first time we took ours out on the Barracks Trail.
The Fix
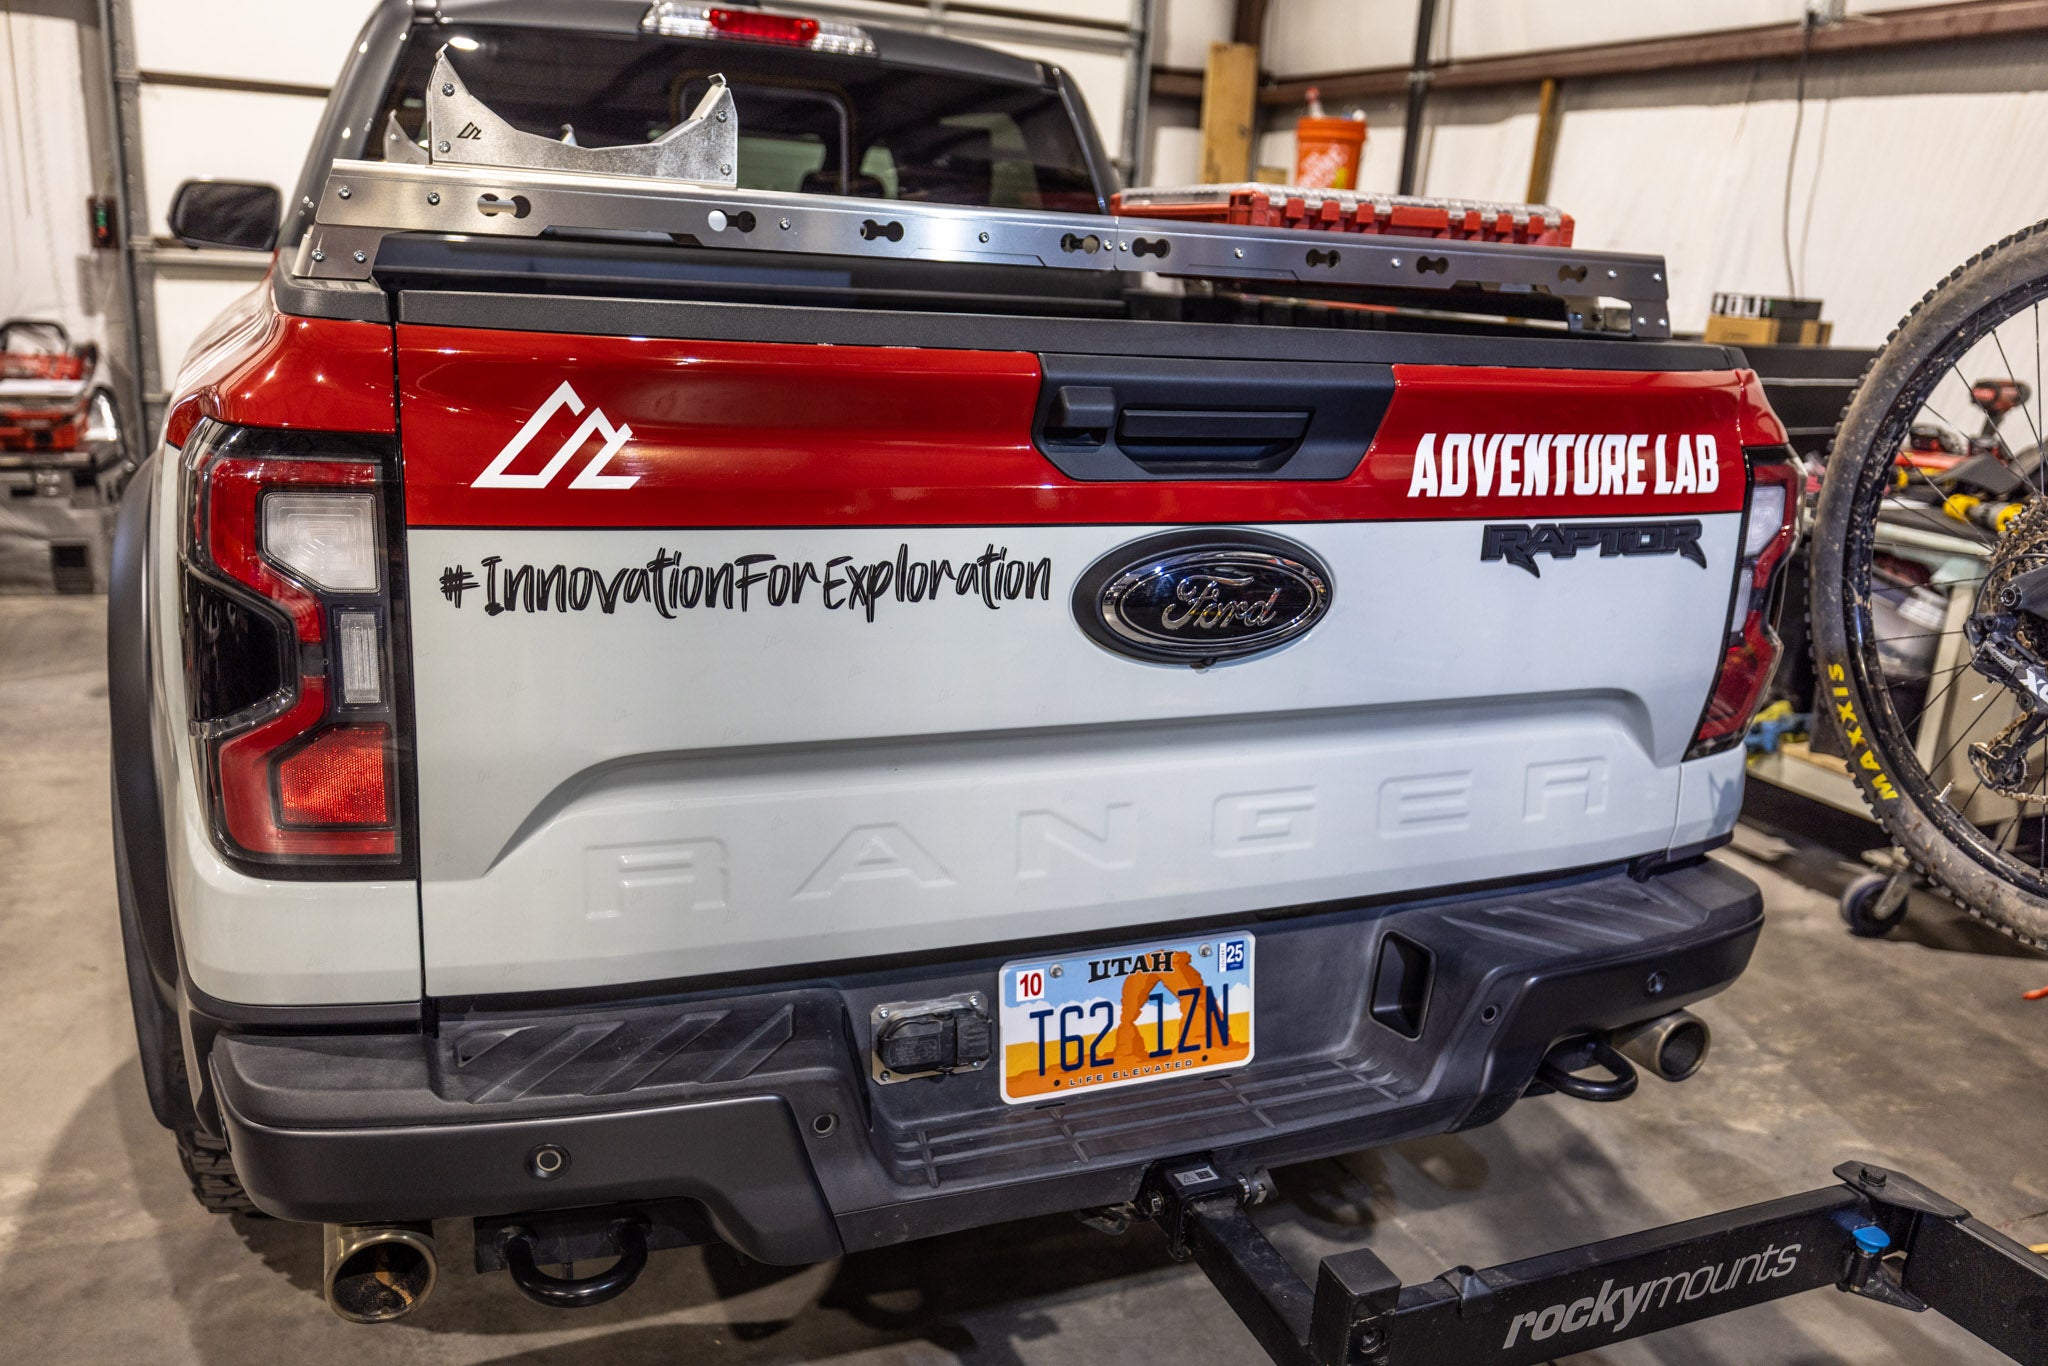
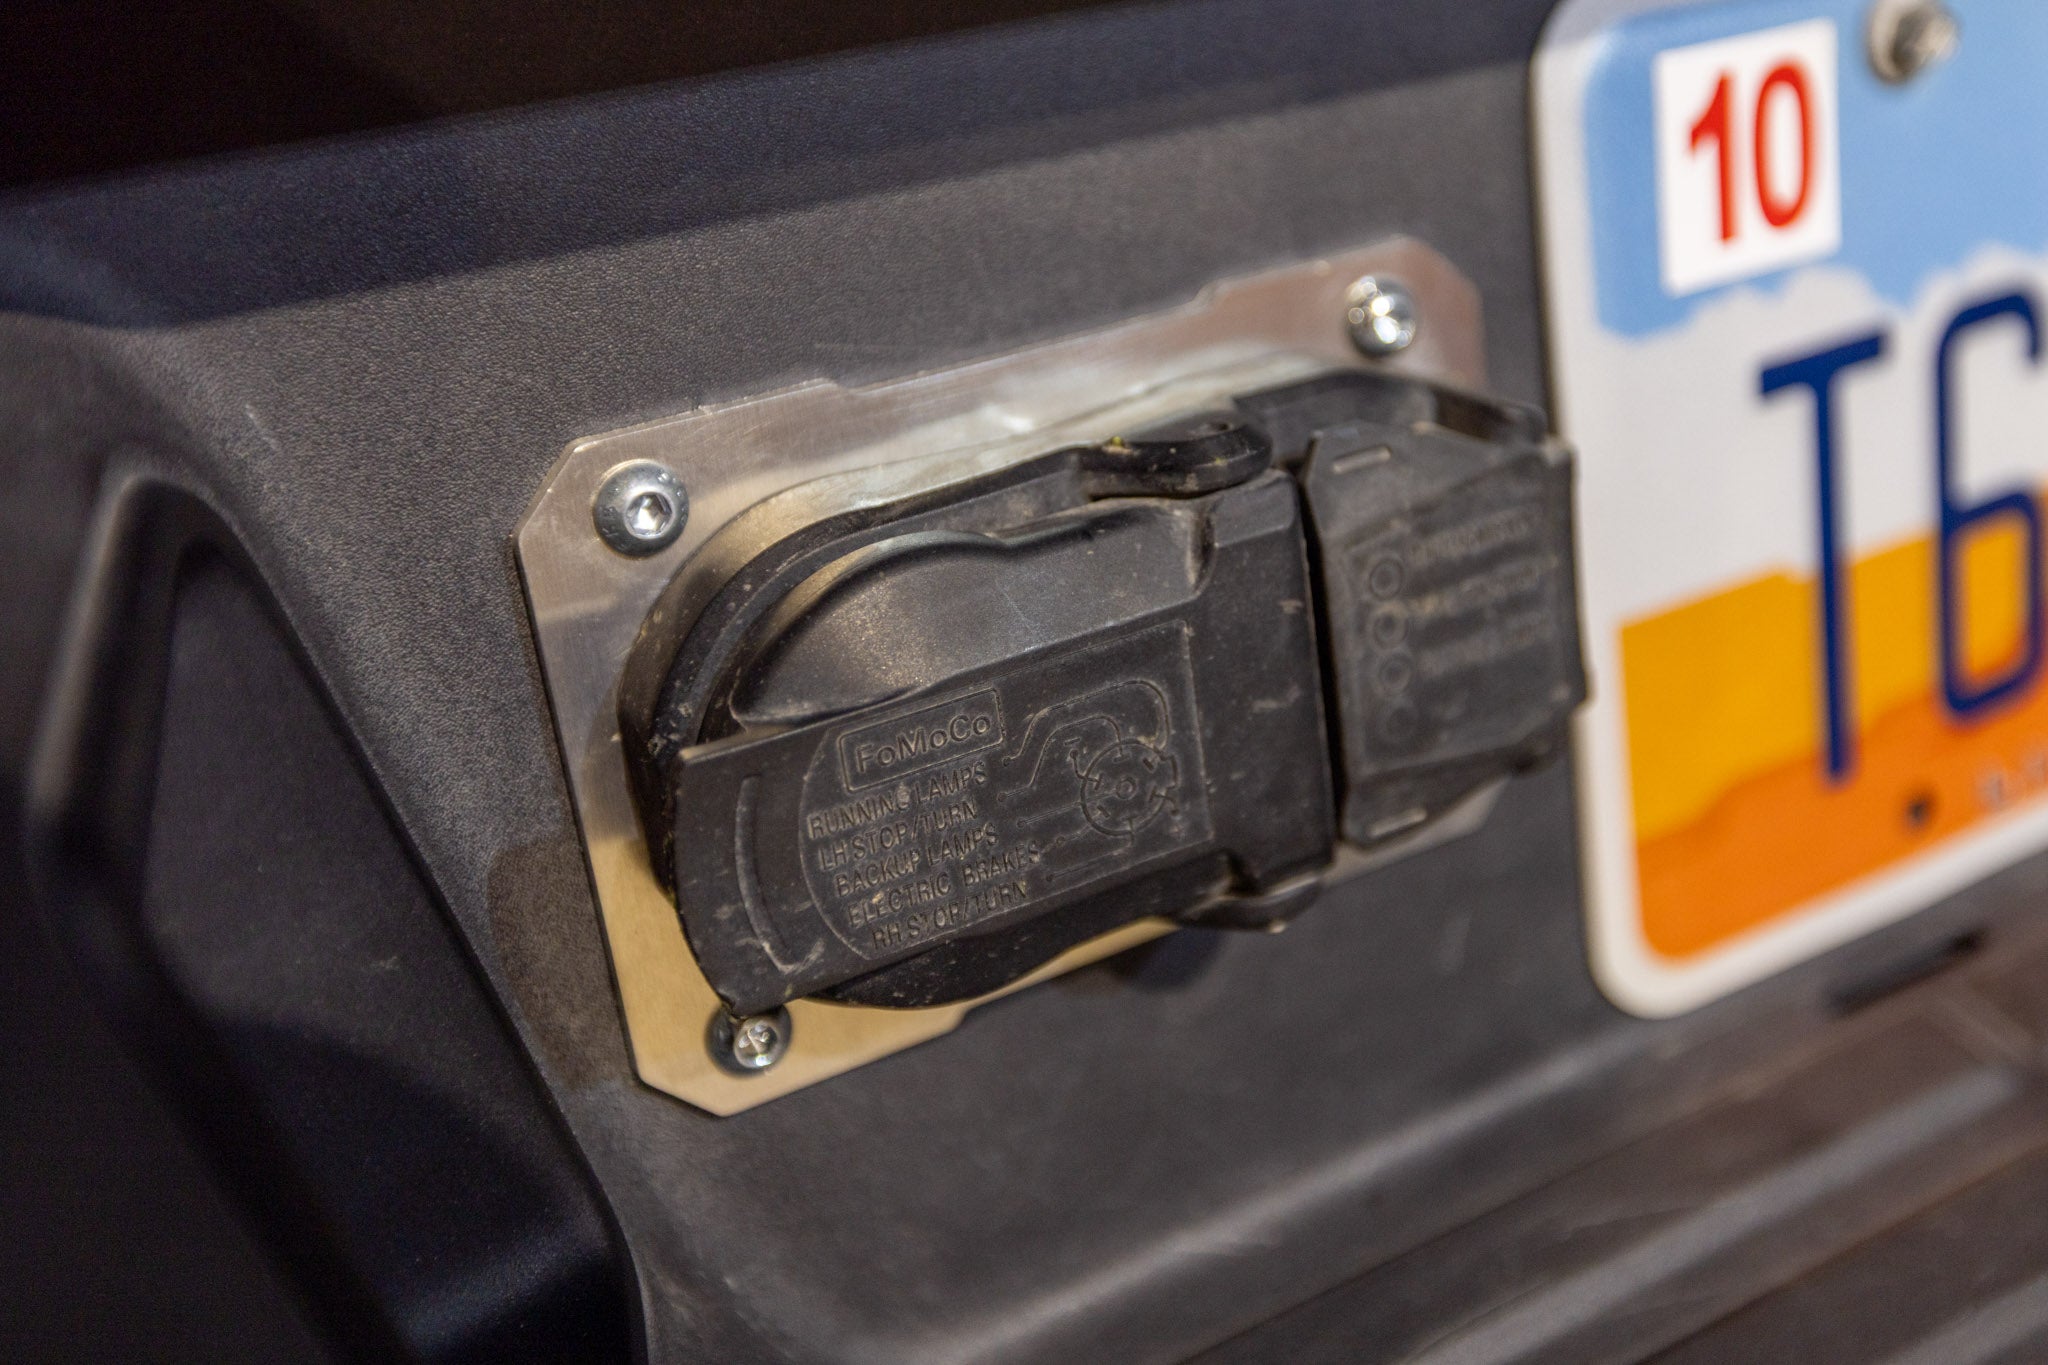
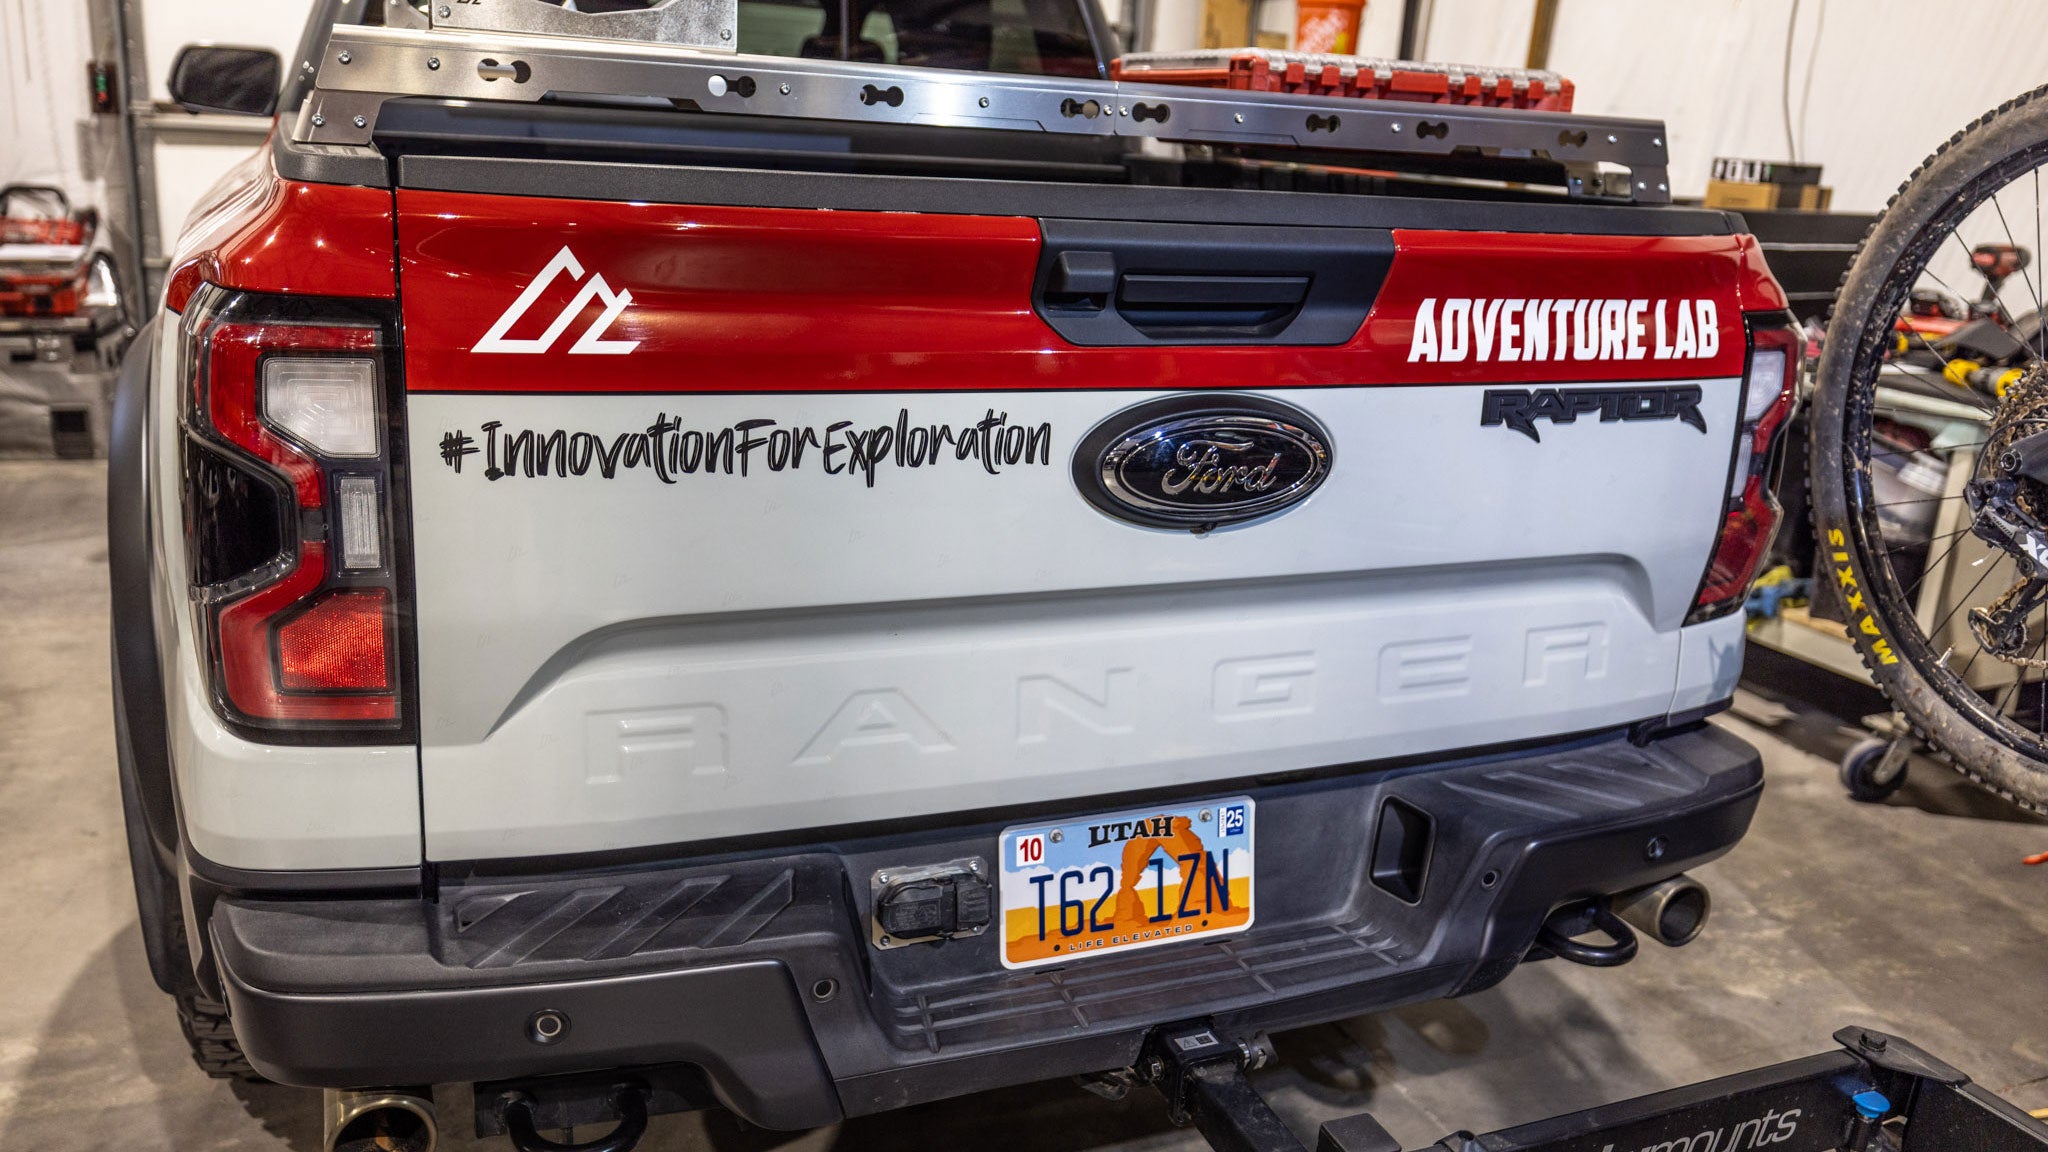
Our Trailer Plug Tuck Kit moves the plug up and out of danger by relocating it into the bumper itself. Here’s how it works:
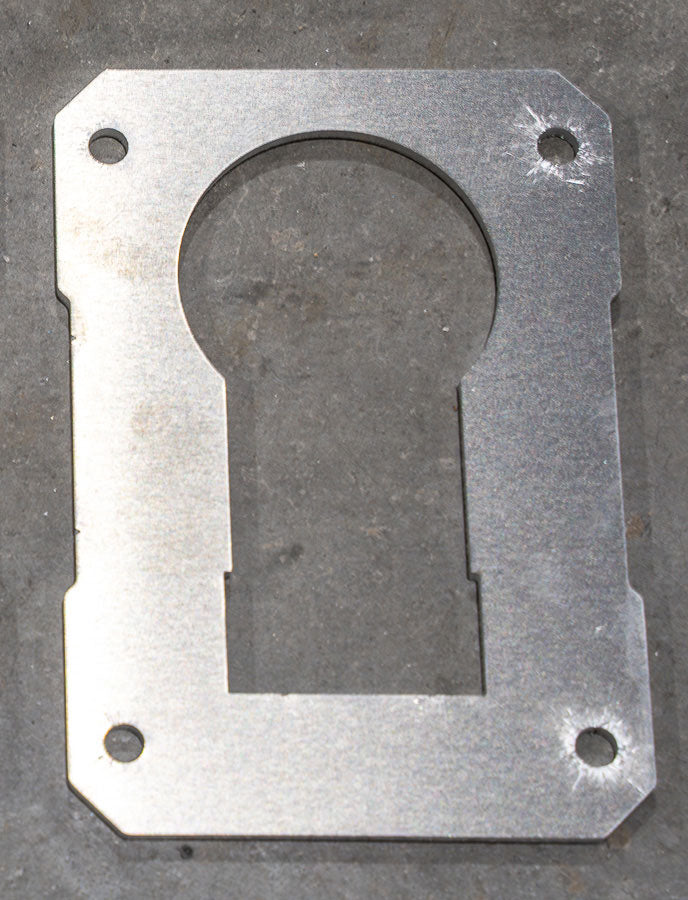
- Use the provided template, which indexes off your license plate bolts, to trace your cutout location.
- Cut the main hole with a 2-1/8″ hole saw and trim the rest with a razor knife.
- Transfer mounting holes using a 1/8″ bit, then drill them out to 1/4″.
- Remove the factory bracket (grinder required – safety glasses and sparks encouraged).
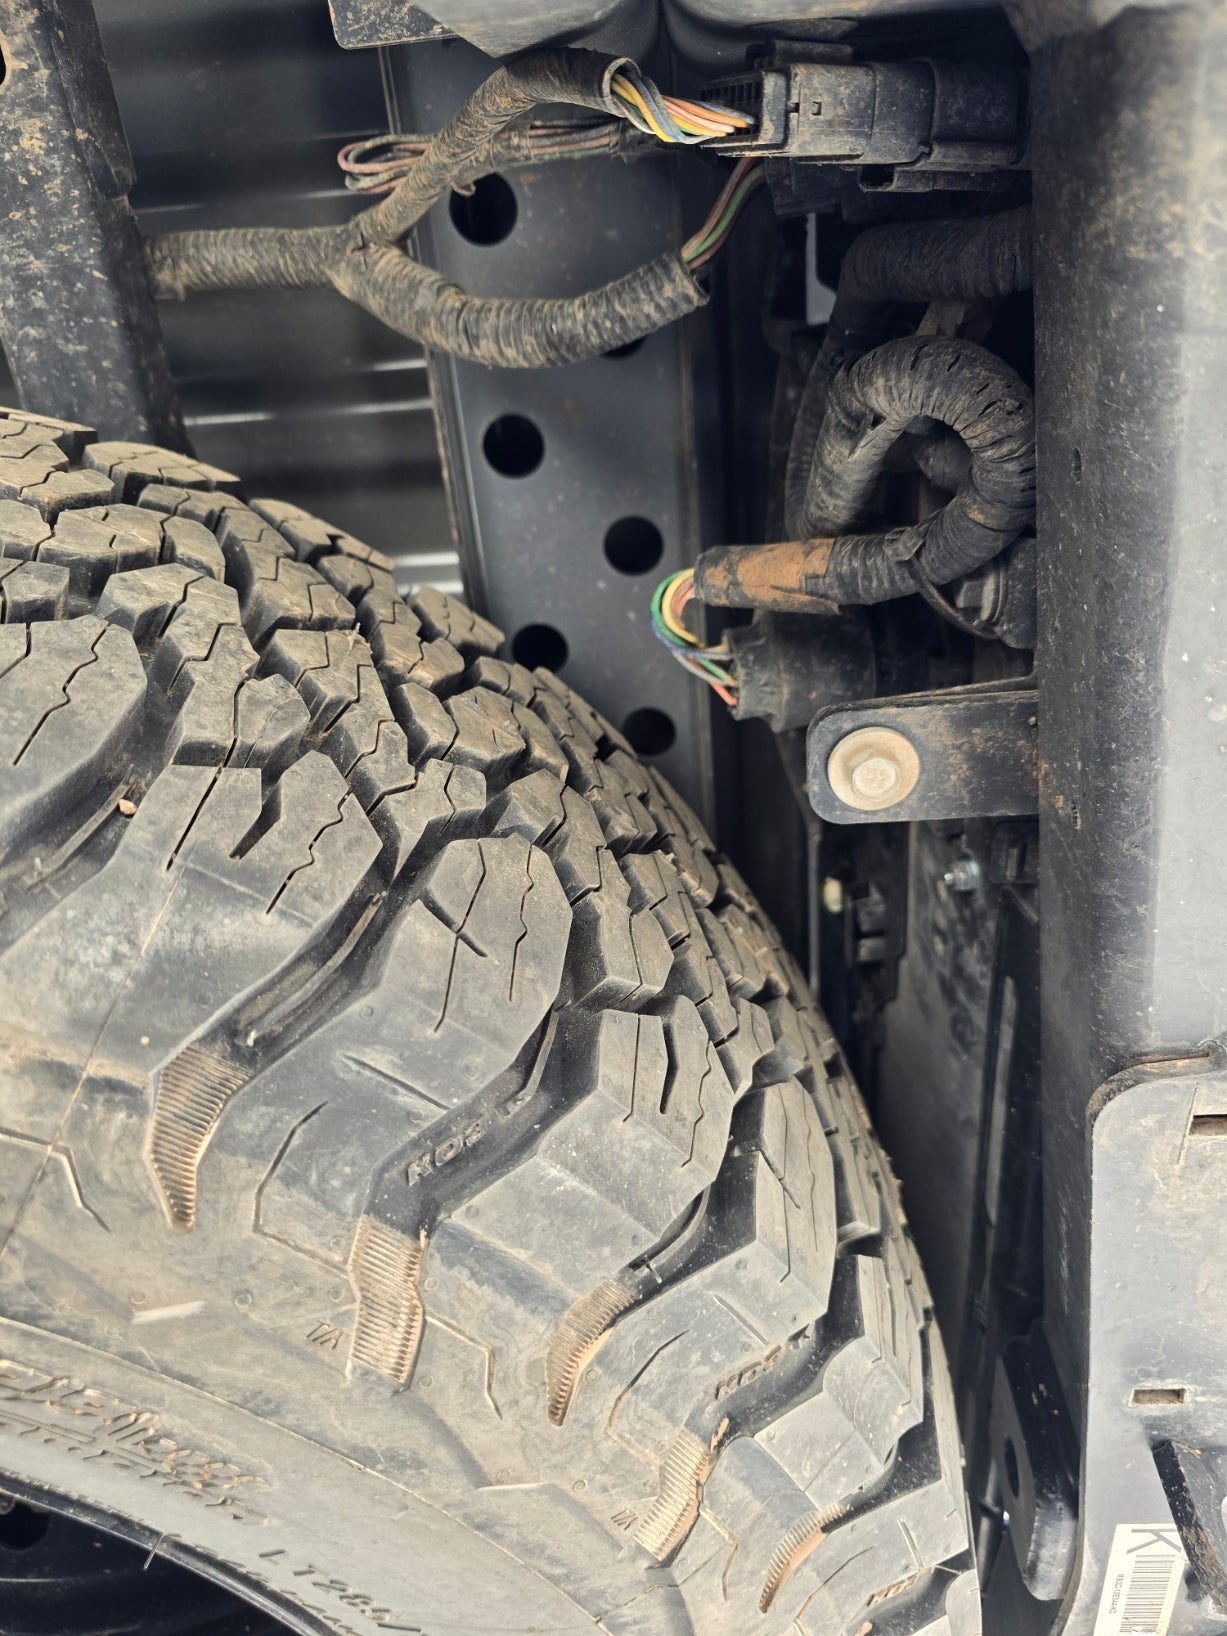
- Pop one of the trailer wiring harness clips loose and reposition the harness higher in the bumper.
- Use the included zip tie to secure it out of harm’s way.
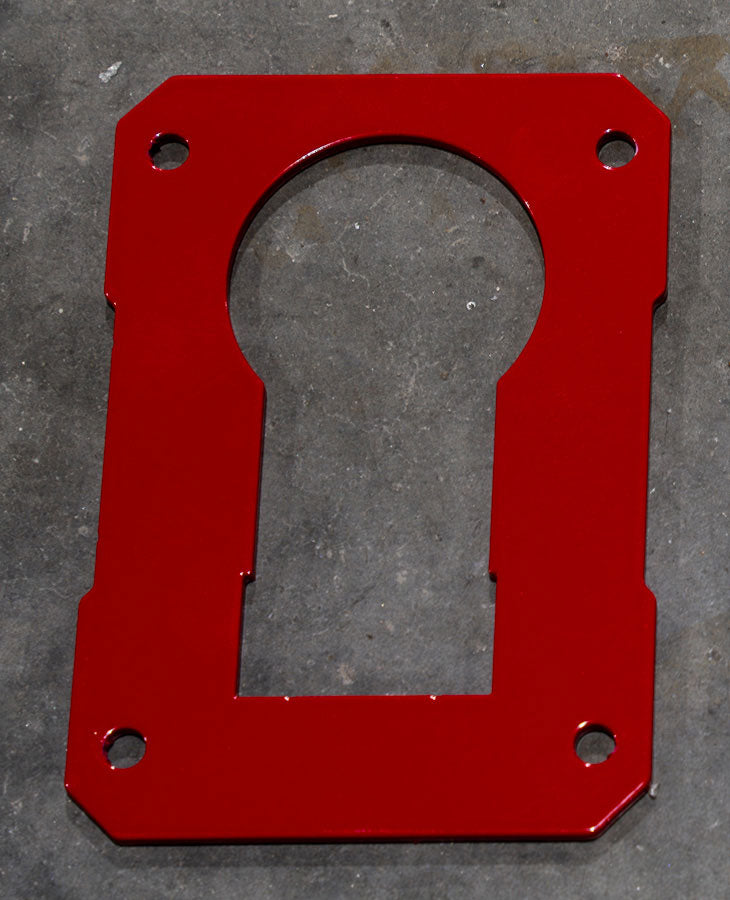
- Install the aluminum bezel using the included hardware.
No need to extend wires. Just smarter routing and smarter design.
If you have any questions, you are always welcome to contact us. We'll get back to you as soon as possible, within 24 hours on weekdays.
-
Shipping Information
Use this text to answer questions in as much detail as possible for your customers.
-
Customer Support
Use this text to answer questions in as much detail as possible for your customers.
-
FAQ’s
Use this text to answer questions in as much detail as possible for your customers.
-
Contact Us
Use this text to answer questions in as much detail as possible for your customers.
Kit Includes
- Laser-cut template (ships uncoated)
- 3mm 5052 aluminum bezel
- Available in Raw Aluminum, Textured Black, or Ranger Raptor Red
- Black zinc-plated fasteners (updated 5/17/25) and nylon lock nuts
- Zip tie
- Good trail karma
Install Time: ~30 Minutes
Tools you’ll need:
- 8mm socket & ratchet
- Drill
- 2″ or 2-1/8″ hole saw
- 1/8″ and 1/4″ drill bits
- Razor knife
- M4 Allen bit or wrench
- 10mm wrench
- Grinder/flap disc
- Black spray paint (to touch up cut metal)
Wiring Clearance
The photos below are with the stock spare tire. Lots of room, maybe even enough for a 35. As soon as we can get the 35’s installed, we’ll add some photos with those as well.

Color Options Explained

Textured Black
Raven Black by Cardinal
Raw Aluminum
Raw/Unfinished Aluminum
FAQs
Please read our FAQs page to find out more.
Where are your products made?
All American Adventure Lab products are proudly designed, tested, and manufactured in-house in St. George, Utah, using high-quality materials and precision processes. We are committed to American manufacturing and craftsmanship.
Do you offer installation instructions?
Yes! Most of our products include detailed install instructions. Check the "Instructions" section below the product details above. If we have a digital version of the instructions, they will be included there. You will also receive a printed sheet with your order that details how to ask questions or receive installation assistance.
Can I return or exchange an item?
We stand by our products. If something doesn’t work out, reach out to us within 30 days of delivery. Full return and exchange policy is available here.